wordpressの固定ページ、投稿ページどちらも使える目次を自動生成してくれるプラグインTable of Contents Plusを導入し独自のCSSを使ってカスタマイズしてみました。

Table of Contents Plusは記事の上部にある目次の↓のこと
Table of Contents Plusインストール
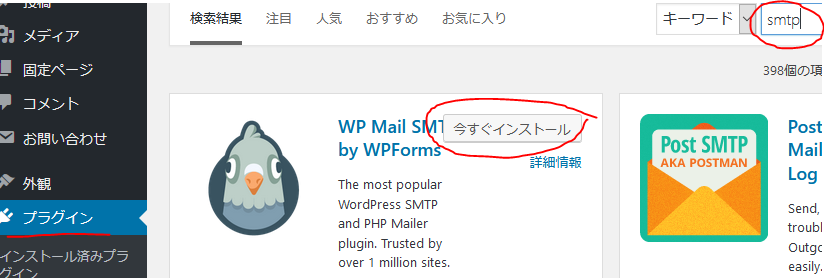
【プラグイン】→【新規追加】で検索からTable of Contents Plusをコピペしインストール。
インストールしたプラグインTable of Contents Plusを有効化しwordpressのダッシュボードの左のメニューから【設定】→【TOC+】を選択
Table of Contents Plus設定
私の設定です。よろしければ参考に。
position:TOCを表示させる位置
Show when:見出しが~数以上で表示
Auto insert for the following content types:表示させる投稿タイプ
Heading text:表示させる題名
Allow the user to toggle the visibility of the table of contents:目次に開閉ボタンの有無
Show hierarchy:目次を断層表示化
Number list items:目次の番号表示
Enable smooth scroll effect:スムーススクロールの利用
Appearance以降のWidth、Wrapping、Font size、Presentationは今回独自のCSSを利用するのでスルー。
最下部にある【Advanced (show)】のshowをクリック。
開いたら上から4つ目のチェックボックスの【Exclude CSS file】にチェックをいれ最下部の【Update options】を選択し閉じる。
CSSファイルに挿入
使用しているテンプレートのCSSに挿入すればオッケーです。
ちなみに当wordpressのCSSは、こちら。
/*目次TOC*/

#toc_container{
 /*css3*/
 -moz-border-radius: 10px;
 -webkit-border-radius: 10px;
 border-radius: 10px;
 padding: 10px;
 color: #000;
 background-color:rgba(0,145,139,0.1);
}
#toc_container a{
 color: #000;
 margin-bottom: 0px;
}

#toc_container .toc_title{
 font-weight: bold;
 margin-top: 0px;
 margin-bottom: 5px;
 margin-left: 10px;
}
#toc_container ul{
 padding: 0px;
 color: #00918B;
 margin-left: 13px;
 margin-top: 0px;
 margin-bottom: 0px;
}
#toc_container li{
 padding-left: 0px;
 margin-left: 0px;
 margin-bottom: 5px;
}


 tagcloudのカスタマイズを簡単にできるConfigurable Tag Cloud


この記事へのトラックバック